Een leuke blogger, tante Jannie , heeft een uitwisseling van snailmail bedacht. Hier heb ik aan mee gedaan. Mijn postzegelpost bevatte o.a. onderstaande broche. Ik heb er een lesje broche maken van gemaakt.
aunt Jannie is a funny blogger. She started a snailmail exchange. I became a "member" My stampmail contained a.o. the following brooch. I made a tutorial out of it.

Neem een stukje vilt en naai er een stukje papier achter (methode Robin Atkins). Borduur erop met kralen naar eigen inzicht. Knip een rondje uit bv het deksel van een champignonbakje ter grootte van het borduursel.
Take a piece of felt and sew a piece of paper at the backside.(Robin Atkins' method). Make a bead embroidery as you like it. Cut a piece of plastic, f.i. from the cover of a mushroomcontainer as big as the embroidery.

Hier is het kralenborduurwerje bijna klaar.
This is the almost finished embroidery.

Als je klaar bent met borduren verwijder je zo veel mogelijk het papier.
After finishing the embroidery you take away as much paper as possible.

Neem een veiligheidsspeld die iets kleiner is dan het rondje en knip een extra viltrondje.
Take a safety pin (a bit smaller than your brooch) and cut an extra felt circle.

Maak een insnijding in het plastic voor de speld.
Cut the plastic to slip in the pin.
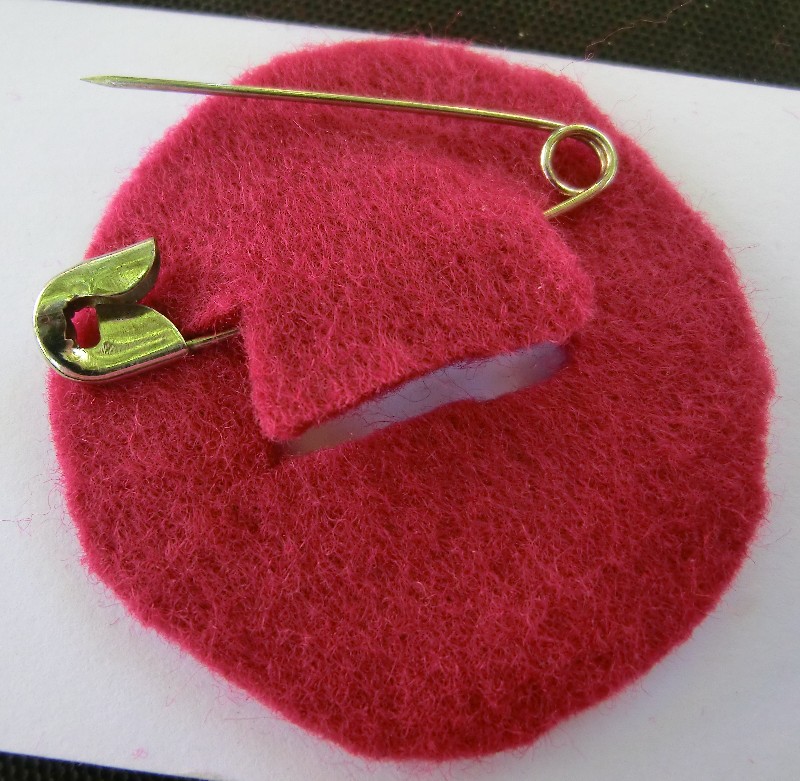
Knip ook het vilt in voor de speld. (iets verschoven t.o.v. de snee in het plastic).
Cut also the felt, a bit different from the plastic.

Naai de speld in het vilt.
Sew the pin into the felt.

Schuif het ingeknipte plasticje achter de speld.
Slip the plastic behind the pin.

Naai de twee vilten rondjes met kleine steekjes op elkaar...
Sew the two felt circles together...

...en klaar is je broche.
...and your brooch is finished.

Je kunt het reliëf zien.
You can see the relief.

Ook in de zon is ie mooi!
Also nice in the sunshine!
Mooi, bedankt voor de uitleg
BeantwoordenVerwijderenWat mooi gemaakt zeg. Echt knap!
BeantwoordenVerwijderenIk hoop dat de ontvanster m ook leuk vindt...
Verwijderen